Getting Your Floors Ready for a Wisconsin Winter
If you have lived through a Wisconsin winter, you know the season never stays neatly outside. It comes through the door on boots, paws, snow pants, and the bottoms of grocery bags. It rides into the garage on tires and wheel wells. By the time the first real stretch of cold settles in, there is grit in the entryway, salty slush on the garage floor, and a furnace pulling moisture from the air around your hardwood.
That combination can be rough on both hardwood and concrete. Most winter floor damage is not caused by one dramatic spill or one snowy trip through the house. It happens a little at a time, while everyone is busy keeping track of wet mittens, missing gloves, and whether the snowblower is going to start. A few practical steps now can make the daily mess easier to manage and help you catch small problems before they become expensive ones.
Here is what we would look at in our own home before winter settles in: hardwood floors, garage concrete, basement floors, and existing concrete coatings. We will also separate normal seasonal changes from the warning signs that deserve a closer look.
What Wisconsin Winter Actually Does to a Floor
Winter creates different problems in different parts of the home.
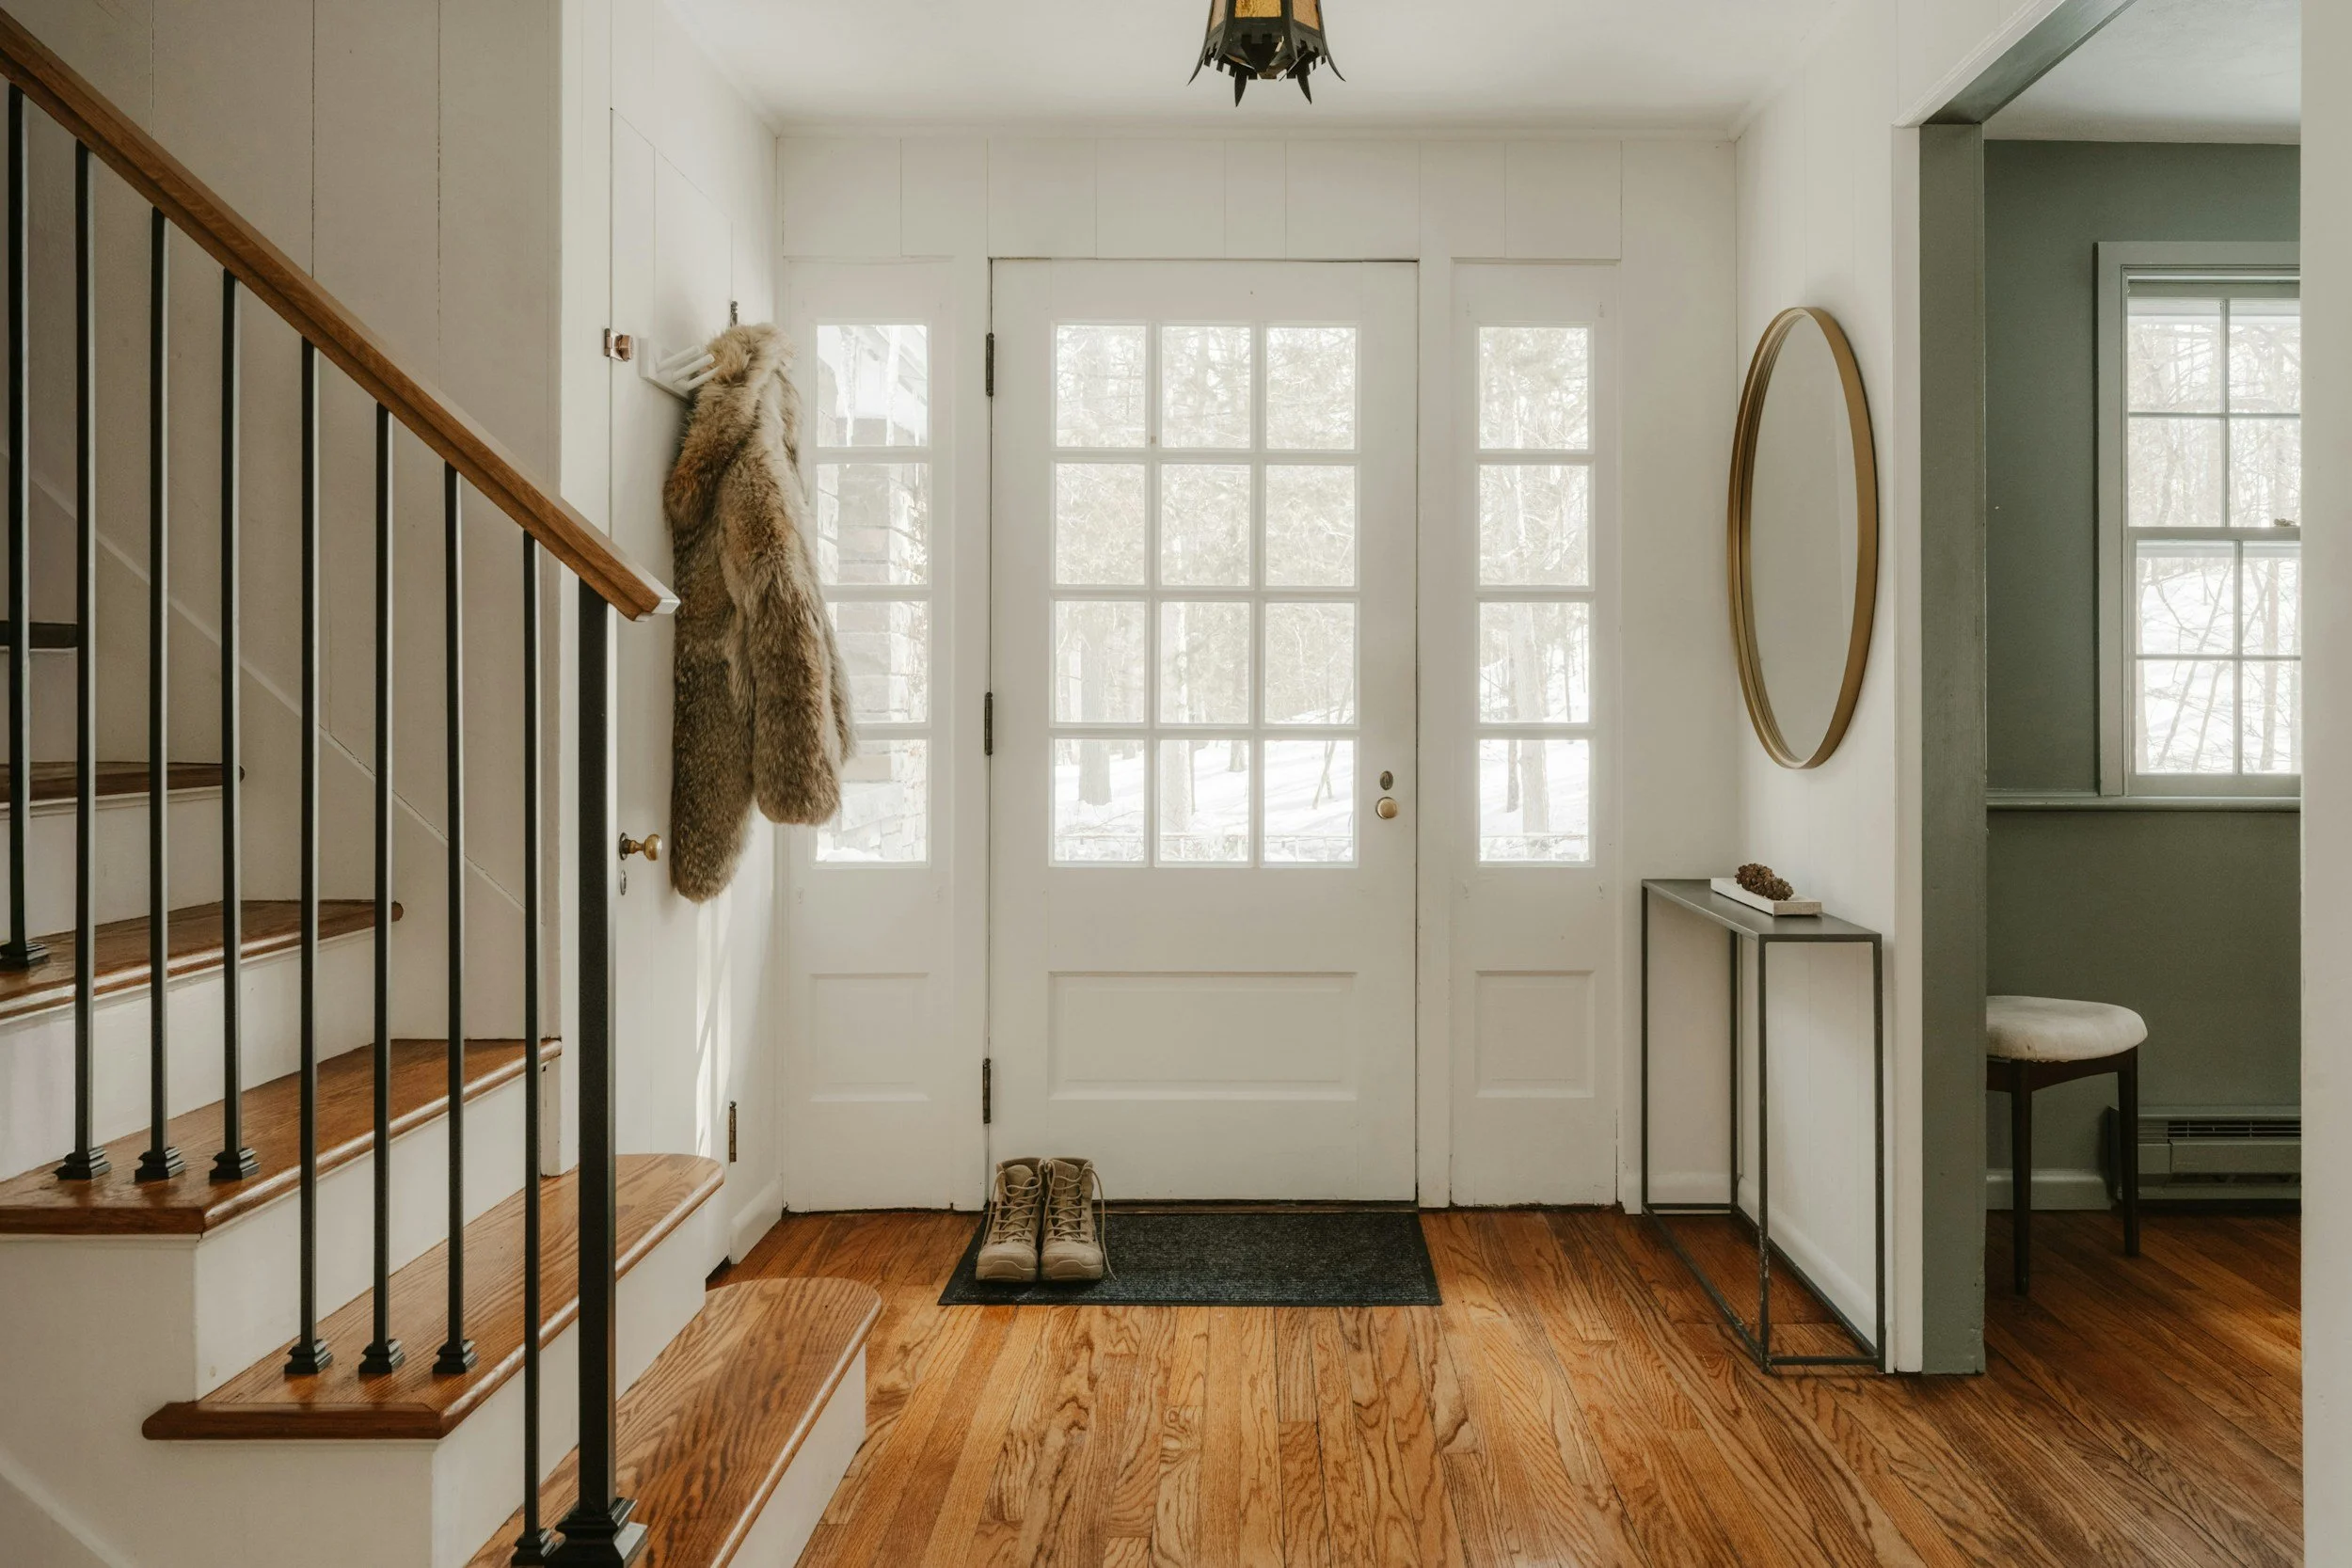
Once the furnace begins running regularly, indoor air often becomes much drier. Wood naturally responds to moisture changes, so hardwood boards may contract and develop small seasonal gaps. Meanwhile, every trip through the mudroom or back door can leave behind snowmelt, road salt, and sand. Walk across that mixture often enough and it acts like fine sandpaper on the finish.
In a garage, every vehicle can carry in a mixture of snow, water, grit, and deicing material. That residue sits on the concrete or coating until it is removed. Existing cracks, pitting, worn paint, and weak surface areas often become more noticeable once winter traffic begins.
No floor is going to make it through a Wisconsin winter without getting dirty. The goal is not perfection. It is to keep the worst of the season from reaching the surface, clean up what does get through, and notice the places where the floor has already lost some protection.
Hardwood Floor Winter Preparation
Make it stand out
1. Give the finish a good look before the first salt truck rolls
Start with the areas that receive the most traffic: exterior doors, hallways, kitchens, and the path between the garage and living space.
Look at the floor in natural light. A finish that is merely dull may need cleaning or, depending on its condition, a maintenance coat. Gray wood, exposed grain, deep scratches, peeling finish, or dark moisture staining point to a deeper problem. Once the protective finish has worn through, everyday moisture and grit can reach the wood itself.
A professional buff and coat can be a cost-effective option when the existing finish is still intact and compatible with a new coat. It does not remove deep scratches, stains, bare areas, or damage that has reached the wood. Those conditions may require sanding, repair, or full hardwood floor refinishing.
The best time to ask is while there is still finish left to save. Waiting until spring can turn a smaller maintenance job into a full refinishing project.
2. Create a two-stage entry area
One small welcome mat is rarely a match for a Wisconsin family coming home in January. A better setup uses two stages:
A durable mat outside or in a protected entry to remove packed snow and larger debris.
An absorbent mat or runner inside to catch remaining moisture and fine grit.
Choose products approved for use over your flooring. Some rubber, latex, or dyed backings can discolor or react with certain finishes. Keep mats clean and allow the floor beneath them to dry. A boot tray near the door gives wet footwear a place to drain without leaving standing water on hardwood.
If you have pets, keep an old towel near the door for paws and bellies. Sand and salt caught between paw pads can travel farther into the house than most people realize.
3. Remove grit before it scratches
Sand and salt crystals behave like fine abrasives under shoes, chair legs, and rugs. During winter, sweeping or vacuuming high-traffic areas more frequently can prevent a surprising amount of wear.
Use a soft-bristle attachment or a vacuum setting intended for hard flooring. Pay extra attention to the edges of mats, where grit tends to collect. Felt pads under chairs and frequently moved furniture provide another simple layer of protection.
4. Clean snowmelt and salt residue promptly
Blot wet areas rather than spreading the moisture across the floor. Then use a cleaner recommended for your floor's finish and a lightly damp microfiber cloth or mop. The surface should dry quickly.
Avoid soaking the floor, leaving wet towels in place, or using a steam mop. Excess moisture can move into seams and joints, while high heat and steam may damage the finish or affect the wood beneath it. More cleaner is not necessarily better either. Products that leave a film can make future maintenance coats harder to bond and may create a dull or sticky surface.
When you are unsure what finish is on the floor, test a small, inconspicuous area or ask a flooring professional before using a new product.
5. Watch indoor humidity, not just temperature
Small gaps that appear between boards after the heat has been running can be normal seasonal movement. Wood releases moisture and contracts when indoor air becomes dry, then often expands again when Wisconsin finally decides it is spring.
Monitor relative humidity with an inexpensive hygrometer. Many flooring and finish manufacturers recommend keeping a home within a range around 35 to 55 percent relative humidity, but the correct range depends on the flooring, finish, installation, and manufacturer guidance. Avoid making rapid changes or over-humidifying the home simply to close a gap.
Call for an evaluation if gaps remain large year-round, boards lift or cup, the floor feels loose, or you see signs of water intrusion. Filling ordinary seasonal gaps during the driest part of winter can create new problems when the wood expands again.
1. Give the finish a good look before the first salt truck rolls
Start with the areas that receive the most traffic: exterior doors, hallways, kitchens, and the path between the garage and living space.
Look at the floor in natural light. A finish that is merely dull may need cleaning or, depending on its condition, a maintenance coat. Gray wood, exposed grain, deep scratches, peeling finish, or dark moisture staining point to a deeper problem. Once the protective finish has worn through, everyday moisture and grit can reach the wood itself.
A professional buff and coat can be a cost-effective option when the existing finish is still intact and compatible with a new coat. It does not remove deep scratches, stains, bare areas, or damage that has reached the wood. Those conditions may require sanding, repair, or full hardwood floor refinishing.
The best time to ask is while there is still finish left to save. Waiting until spring can turn a smaller maintenance job into a full refinishing project.
2. Create a two-stage entry area
One small welcome mat is rarely a match for a Wisconsin family coming home in January. A better setup uses two stages:
A durable mat outside or in a protected entry to remove packed snow and larger debris.
An absorbent mat or runner inside to catch remaining moisture and fine grit.
Choose products approved for use over your flooring. Some rubber, latex, or dyed backings can discolor or react with certain finishes. Keep mats clean and allow the floor beneath them to dry. A boot tray near the door gives wet footwear a place to drain without leaving standing water on hardwood.
If you have pets, keep an old towel near the door for paws and bellies. Sand and salt caught between paw pads can travel farther into the house than most people realize.
3. Remove grit before it scratches
Sand and salt crystals behave like fine abrasives under shoes, chair legs, and rugs. During winter, sweeping or vacuuming high-traffic areas more frequently can prevent a surprising amount of wear.
Use a soft-bristle attachment or a vacuum setting intended for hard flooring. Pay extra attention to the edges of mats, where grit tends to collect. Felt pads under chairs and frequently moved furniture provide another simple layer of protection.
4. Clean snowmelt and salt residue promptly
Blot wet areas rather than spreading the moisture across the floor. Then use a cleaner recommended for your floor's finish and a lightly damp microfiber cloth or mop. The surface should dry quickly.
Avoid soaking the floor, leaving wet towels in place, or using a steam mop. Excess moisture can move into seams and joints, while high heat and steam may damage the finish or affect the wood beneath it. More cleaner is not necessarily better either. Products that leave a film can make future maintenance coats harder to bond and may create a dull or sticky surface.
When you are unsure what finish is on the floor, test a small, inconspicuous area or ask a flooring professional before using a new product.
5. Watch indoor humidity, not just temperature
Small gaps that appear between boards after the heat has been running can be normal seasonal movement. Wood releases moisture and contracts when indoor air becomes dry, then often expands again when Wisconsin finally decides it is spring.
Monitor relative humidity with an inexpensive hygrometer. Many flooring and finish manufacturers recommend keeping a home within a range around 35 to 55 percent relative humidity, but the correct range depends on the flooring, finish, installation, and manufacturer guidance. Avoid making rapid changes or over-humidifying the home simply to close a gap.
Call for an evaluation if gaps remain large year-round, boards lift or cup, the floor feels loose, or you see signs of water intrusion. Filling ordinary seasonal gaps during the driest part of winter can create new problems when the wood expands again.
Do Not Forget the Garage and Basement
1. Begin with the condition of the concrete
Before the garage becomes winter storage for bikes, patio furniture, shovels, and everything nobody wants to trip over, clear enough of the floor to see what is actually happening. Look for:
Cracks that are new, widening, or changing in height
Pitting, flaking, or powdery surface concrete
Oil, rust, or chemical contamination
Peeling paint or an older coating that has lost adhesion
Low areas where snowmelt regularly collects
Dampness, staining, or signs of moisture moving through the slab
A decorative concrete coating can improve cleanability and help protect the surface from normal garage traffic, but it is not a structural repair and it does not correct an active water problem. Slab condition and moisture need to be evaluated before a coating system is selected.
Cracks can often be repaired during preparation, but repaired cracks may return if the slab continues to move. Honest planning starts with that limitation, not with a promise that concrete will never move again.
2. Control what your vehicle brings inside
Wisconsin roads rely heavily on salt and liquid brine, and some of that mixture comes home with every winter-driven vehicle. The gray puddle beneath the car is not just melted snow. A containment mat can help collect snowmelt and grit, especially when it is emptied and cleaned regularly.
Check the bottom garage-door seal and make sure drains remain clear. Do not allow a containment mat or pile of belongings to hide standing water for days at a time. Even when a floor is coated, removing residue is part of good winter maintenance.
3. Understand what makes a concrete coating last
Most homeowners begin by searching for an epoxy garage floor because that is the familiar term. But not every professional coating is the same as a roll-on kit from the hardware store. The product matters, but the work beneath it matters just as much.
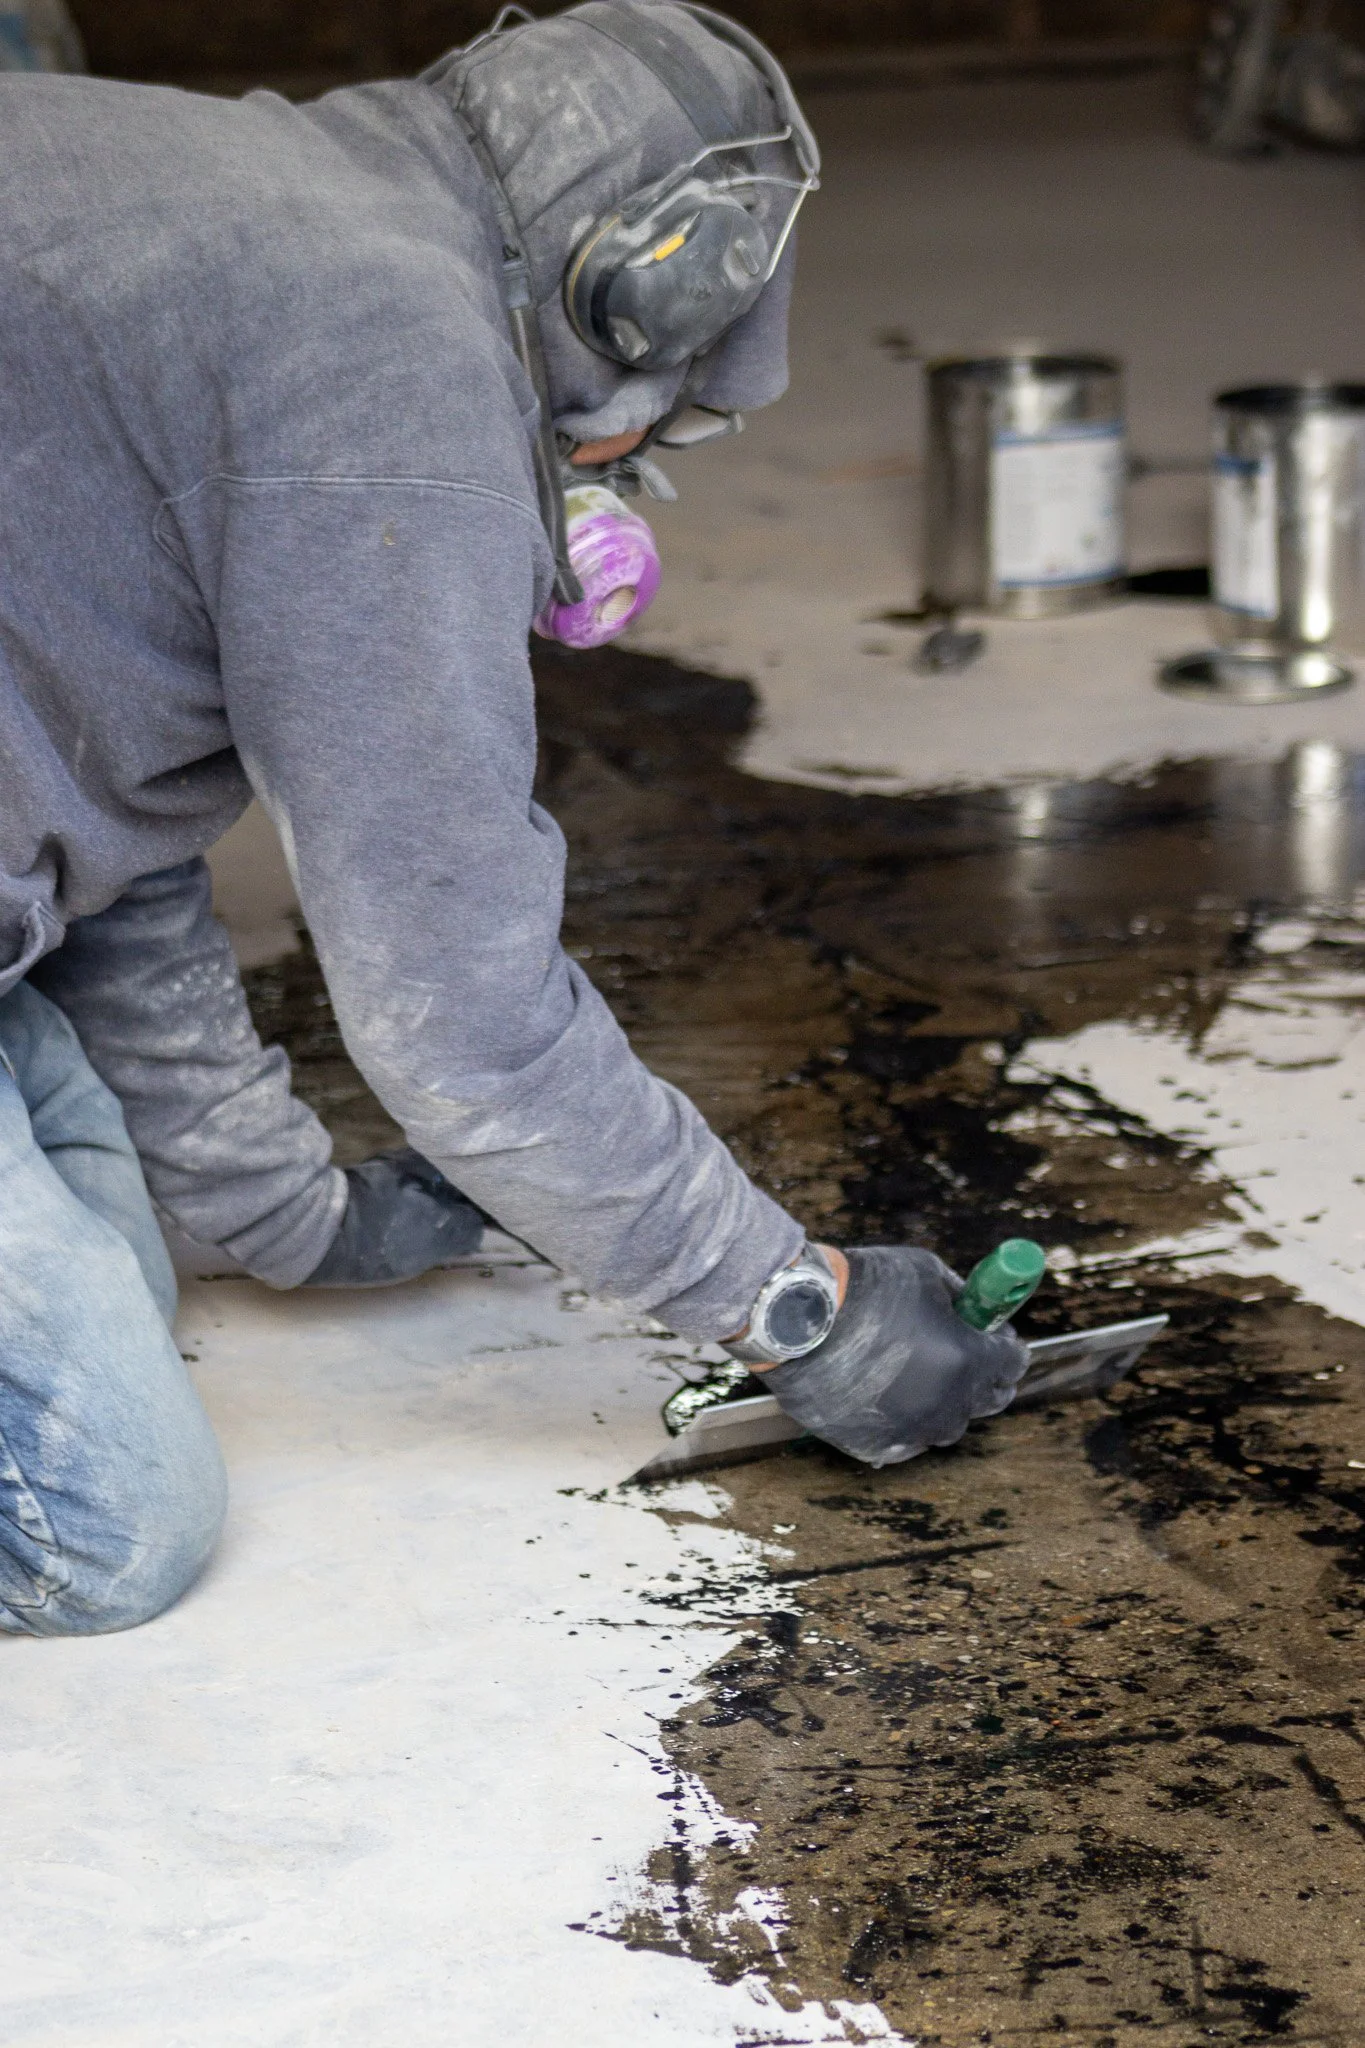
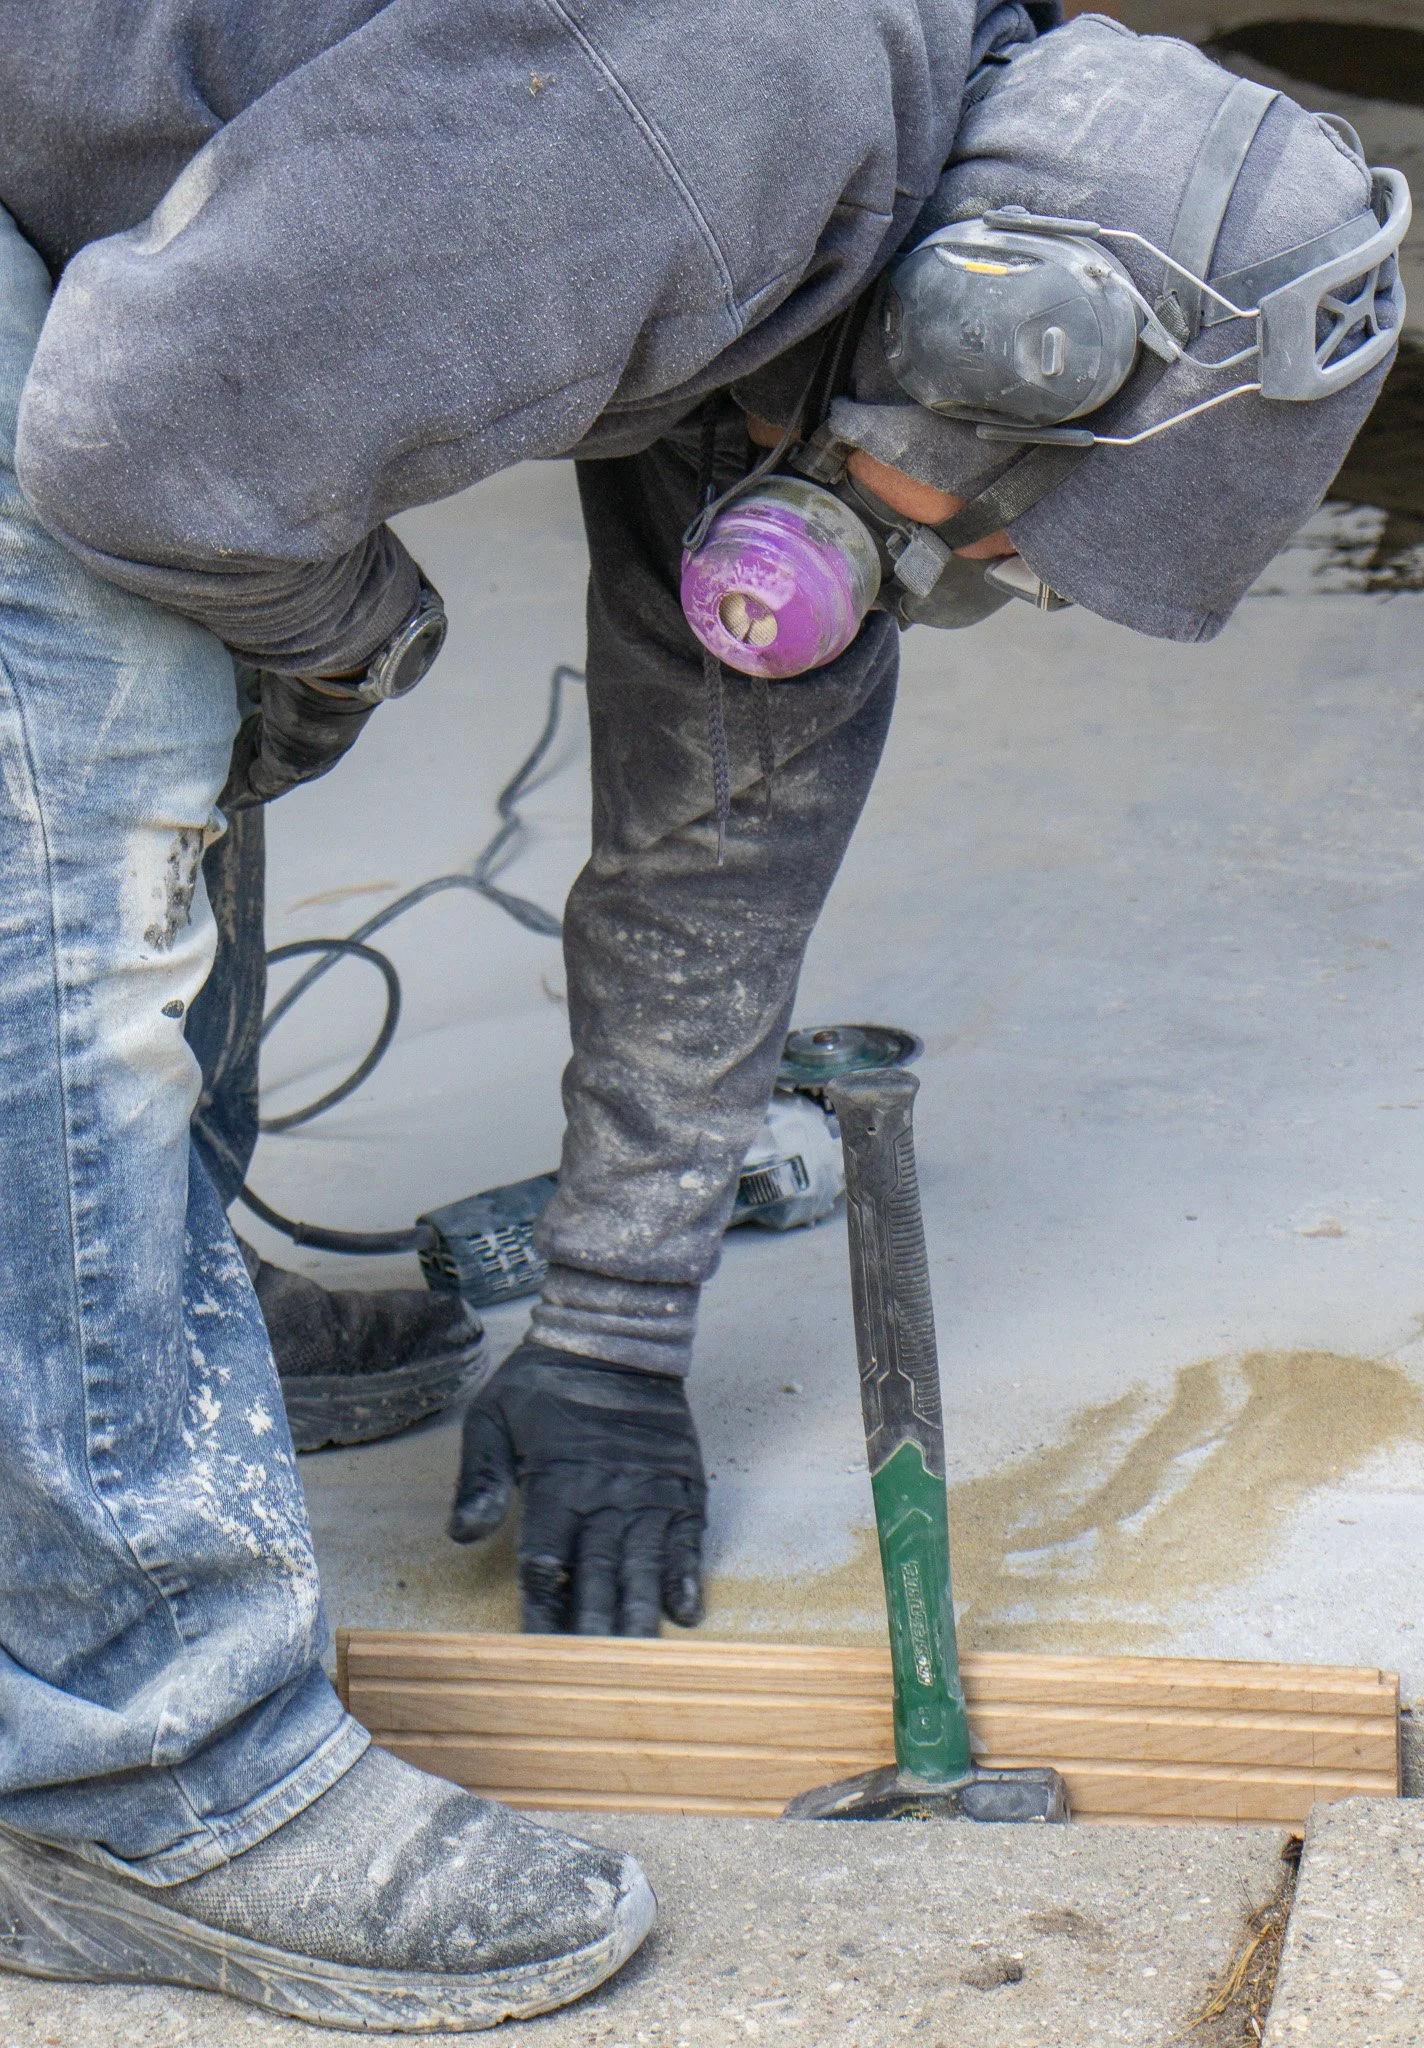
For Swartwout Solutions, the process begins with mechanical grinding rather than relying only on acid etching. Grinding removes weak surface material and creates the profile needed for proper adhesion. The slab is inspected for cracks, damage, contamination, and possible moisture concerns. When conditions call for it, a moisture-mitigating primer may be used.
The decorative system then uses a tinted polyurea basecoat, a full broadcast of vinyl flake, and a clear UV-stable polyaspartic topcoat. Polyurea and polyaspartic concrete coatings are popular search terms for garage floors, basement floors, workshops, utility rooms, and some commercial spaces because they describe parts of a layered system designed for demanding use.
Around here, winter will expose shortcuts sooner or later. A coating is only as dependable as the slab evaluation, grinding, repair work, and installation conditions beneath it.
4. Is fall too late for a garage floor coating?
Not automatically. Installation depends on the specific products, slab temperature, moisture, ventilation, and whether the space can be kept within the required conditions during application and cure. An enclosed or heated garage may offer more flexibility than an exposed slab.
The right answer comes from evaluating the actual space. A reputable installer should be willing to delay a project when the conditions are not suitable rather than forcing a coating onto a slab that is not ready.
If you are considering a garage floor coating before winter, schedule the evaluation early enough to allow time for repairs, preparation, and proper cure before vehicles return.
Caring for an Existing Coated Concrete Floor
A coated floor is easier to maintain than bare, porous concrete, but it still needs care.
Sweep or vacuum loose grit before washing so it does not become an abrasive slurry. Clean road-salt residue promptly with a product compatible with the coating, then rinse or remove the remaining solution as directed.
Do not use harsh solvents, aggressive abrasives, or unapproved chemicals simply because the floor is in a garage.
Use protective pads beneath motorcycle kickstands, floor jacks, heavy equipment, and other concentrated loads. Lift or roll heavy metal items carefully instead of dragging them across the surface.
If a coating begins peeling, bubbling, or separating, do not cover the area with another store-bought layer. Loss of adhesion may point to contamination, insufficient preparation, moisture, or movement that should be identified first.
What Not to Do Before Winter
Some quick fixes create more work later. Avoid:
Steam-cleaning hardwood floors
Saturating wood with water or cleaner
Filling seasonal hardwood gaps without understanding why they appeared
Applying wax, polish, or oil to a finished floor unless the manufacturer calls for it
Rolling a new concrete coating over smooth, dirty, damp, or peeling concrete
Treating a decorative coating as a solution for structural cracks or water intrusion
Ignoring snowmelt because the floor is already coated
When a product label and advice online conflict, follow the manufacturer guidance for the exact floor or coating in your home.
The Before-It-Snows Checklist
Before the first storm sends everyone scrambling for boots and ice melt:
Inspect hardwood near doors and in traffic lanes.
Add a safe exterior mat, absorbent interior mat, and boot tray.
Replace worn felt pads under furniture.
Put a hygrometer in the main hardwood living area.
Confirm that your wood-floor cleaner is compatible with the finish.
Inspect garage and basement concrete for cracks, pitting, peeling, and moisture.
Check garage-door seals and clear drains.
Set up a plan for removing salt, grit, and snowmelt throughout winter.
Schedule an evaluation if wood is exposed or the concrete surface is deteriorating.
What Can Wait and What Should Not
Small seasonal gaps between hardwood boards can often be monitored as indoor humidity changes. Light surface dullness may simply need proper cleaning. A sound concrete floor with minor cosmetic marks may only need routine care.
It is worth getting a professional opinion sooner when you see bare or gray wood, finish peeling from the floor, recurring dark stains, loose or cupped boards, significant concrete pitting, active moisture, or a coating lifting from the slab. These are not the kinds of problems that improve while we wait for the January thaw. Catching the cause early may preserve more of the original material and give you more repair options.
Swartwout Solutions evaluates hardwood refinishing, hardwood repair, buff-and-coat maintenance, stair work, installation, and concrete floor coating projects throughout Beaver Dam, Columbus, Watertown, Sun Prairie, the Madison area, Fond du Lac, and nearby Wisconsin communities.
To start a conversation, send three to five clear photos, your city, the approximate size of the space, and a short description of what is bothering you. We will tell you honestly whether the floor appears to need immediate work, routine maintenance, or simply a closer eye through winter.
Whatever your floor needs, there’s a Swartwout Solution.