The Difference Is in the Preparation
What happens before the final finish matters.
The finished floor is the part everyone wants to see.
It is the moment when the grain comes back to life, the color settles into the wood, and a room that looked tired suddenly feels warm again. Before-and-after photographs make that transformation look almost instant.
In reality, the finish is only the last part of a much longer process.
Professional hardwood floor refinishing depends on everything that happens before the final coats are applied. The sanding progression, edges, corners, repairs, cleaning, stain preparation, and even the conditions inside the home can all affect the result.
The finished floor gets the attention. The preparation is what earns it.
Hardwood Refinishing Is More Than Removing the Old Finish
When most homeowners picture hardwood floor sanding, they imagine a large machine moving back and forth across the room.
That machine does important work, but removing the old finish is only one part of the job.
The purpose of sanding is to create a clean and consistent wood surface that is ready to accept stain or finish. That means the contractor is not simply trying to make the floor look bare.
The process may need to address:
Worn or missing finish
Surface scratches
Uneven color
Minor height differences between boards
Old stain
Previous coating buildup
Pet damage
Water stains
Repairs from earlier renovations
Areas hidden beneath carpet or other flooring
Every floor is different. Some need a relatively straightforward refinishing process. Others reveal decades of repairs, old adhesives, stains, damaged boards, or uneven sanding from previous work.
A professional assessment helps determine what can be improved, what needs repair, and what characteristics may remain part of the floor.
Sanding Happens in Stages
Hardwood floors are generally sanded using a progression of abrasives rather than a single pass.
A rougher abrasive may be needed to remove the existing finish and correct wear. Additional passes then smooth the surface and remove the sanding marks left by the earlier stages.
Each stage prepares the floor for the next.
If the progression is rushed or a stage is skipped, scratches can remain in the wood. Those scratches may not look especially dramatic while the floor is raw, but they can become much more noticeable after stain or finish is applied.
This is one reason a floor should not be judged solely by how quickly someone can make the old finish disappear. The goal is not simply to reach bare wood. The goal is to leave the wood evenly prepared for the products that come next.
The Middle of the Room Is Only Part of the Job
Large sanding equipment is effective in the open areas of a room, but it cannot reach every inch.
A room also contains:
Edges
Corners
Closets
Doorways
Floor vents
Radiators
Built-ins
Transitions
Stair landings
Tight areas around trim
These spaces require smaller equipment and more hands-on attention.
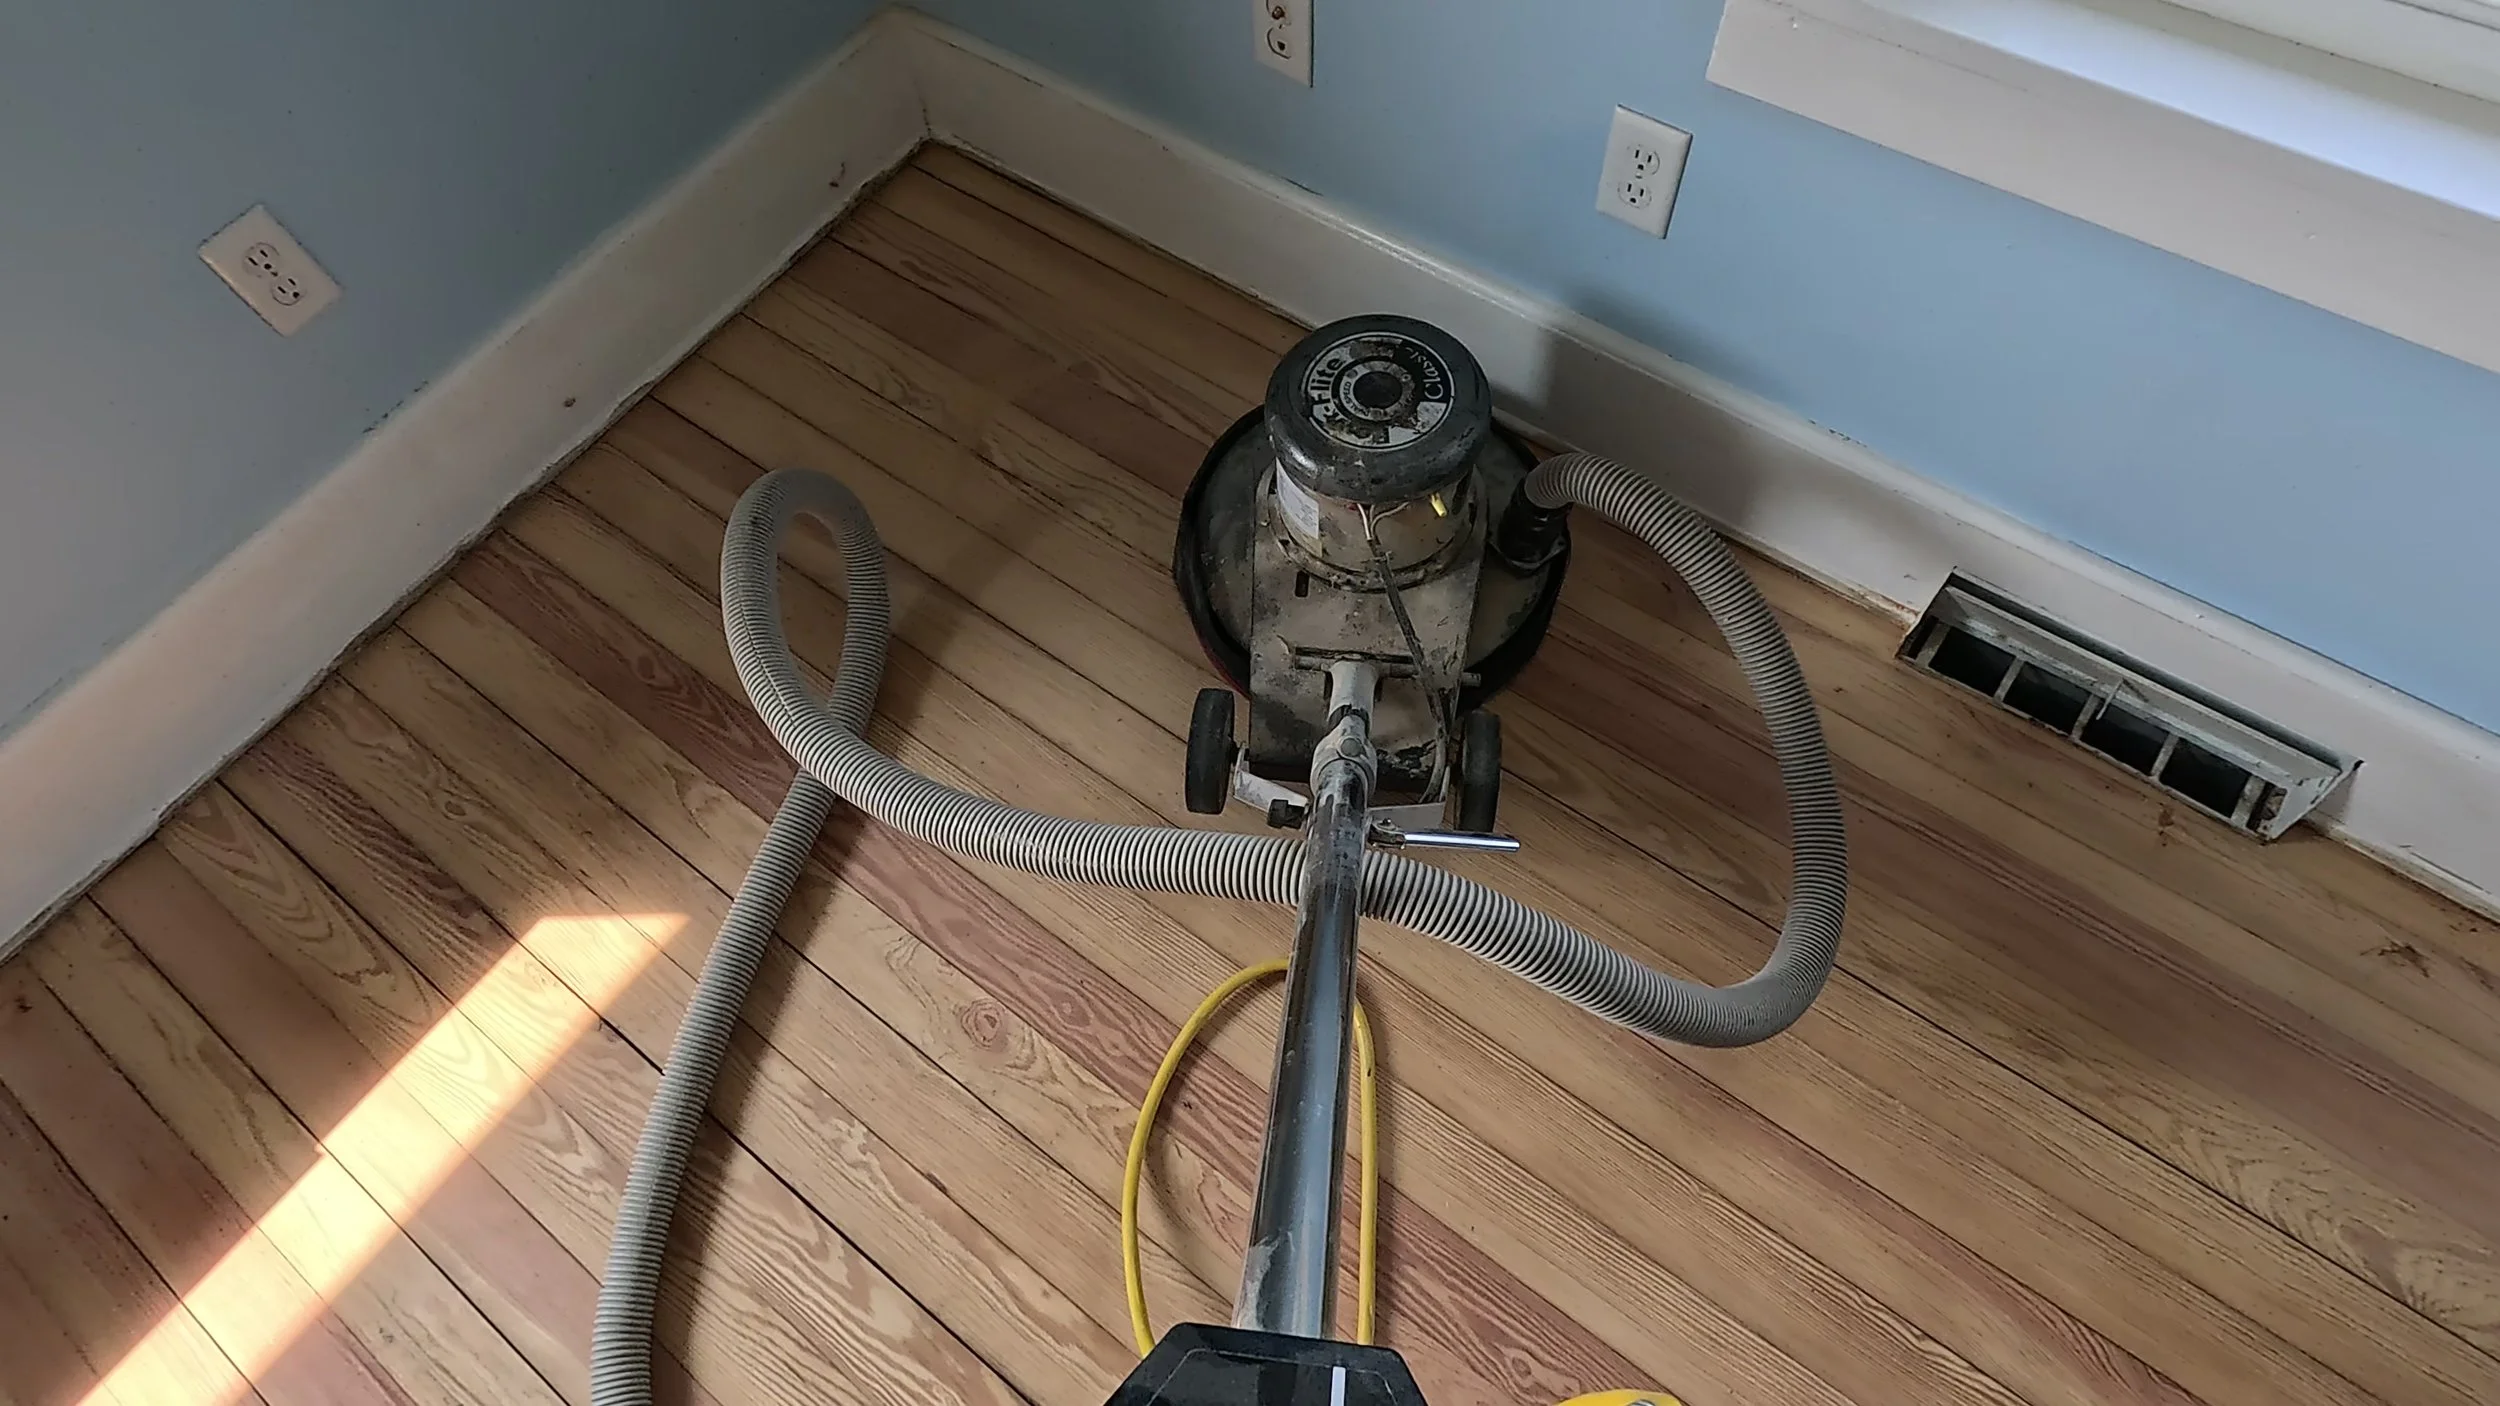
An edger is commonly used around the perimeter of the room. Corners and other tight spaces may require additional detail sanding or scraping. The contractor must then blend those areas into the main field of the floor.
When this work is done well, the perimeter should not look like a separate part of the project. You should not be able to stand in the finished room and see an obvious line where one machine stopped and another began.
The equipment used around the edges may be smaller, but the work is not necessarily easier. It requires control, patience, and a good eye.
Repairs Should Be Addressed Before the Final Sanding
Sanding can improve many surface problems, but it cannot solve every issue.
A floor may have:
Cracked or splintered boards
Missing sections
Deep pet stains
Water-damaged wood
Loose flooring
Gaps left by removed walls
Openings from old vents
Poorly matched previous repairs
Areas that were covered by cabinets or built-ins
These problems should be evaluated before the final sanding stages.
When replacement boards are needed, the contractor must consider the wood species, width, thickness, grain, age, and condition of the surrounding floor. Older Wisconsin homes often contain wood that does not look exactly like material available today.
Even boards of the same species can vary naturally. New wood may also accept stain differently than flooring that has been in a home for 50 or 100 years.
The goal is not always to make a repair completely invisible. That may not be realistic. The goal is to make it fit naturally with the existing floor and avoid drawing unnecessary attention to it.
Not Every Stain Will Sand Out
This is an important expectation to discuss before refinishing begins.
Some discoloration sits primarily in the old finish and can be removed during sanding. Other stains have traveled deeper into the wood.
Pet urine, water damage, plant pots, and long-term moisture exposure can leave discoloration that remains after the surface has been sanded. A deep stain may improve significantly without disappearing completely.
The available options depend on the location and severity of the damage. They may include:
Replacing affected boards
Choosing a darker stain
Accepting some remaining character
Using rugs or furniture placement strategically
Refinishing without expecting a perfectly uniform floor
A trustworthy contractor should explain what is likely to improve and what may remain visible. Promising that every mark will disappear before the floor has been evaluated is not helpful to the homeowner.
Stain Does Not Hide Poor Sanding
Homeowners sometimes assume a darker stain will cover sanding marks or uneven areas.
Unfortunately, stain can do the opposite.
Because stain settles into the wood, it can emphasize scratches, swirls, uneven sanding, and areas where old finish remains. Darker colors may make preparation problems even more noticeable.
Before stain is applied, the floor should be as clean and consistent as the project reasonably allows. Stain should be used to create the desired color, not to conceal unfinished preparation.
Natural and lighter finishes also require careful sanding. A clear finish may not add pigment, but it still highlights the grain and surface of the wood beneath it.
No color choice removes the need for proper preparation.
Cleaning Between Stages Matters
Wood dust has a way of getting everywhere.
Professional hardwood refinishing requires cleaning throughout the process, especially before stain or finish is applied. Dust left on the floor can affect the appearance of the final coating and become trapped in the surface.
Preparation may include vacuuming the floor, cleaning edges and vents, inspecting the surface, and removing remaining debris before application begins.
No refinishing project is completely free of dust or disruption. However, thoughtful preparation and cleanup help protect the finish and keep the job more manageable for the homeowner.
Before the work begins, ask what rooms should be cleared, whether doors or cabinets need protection, and how the contractor manages dust during the project.
Temperature and Humidity Affect the Process
Wisconsin weather does not always make things easy.
The temperature and humidity inside a home can affect how stain and finish behave. Cold conditions, excess humidity, limited airflow, and rapid temperature changes may influence drying and curing times.
This becomes especially important during winter, when homes are closed tightly and heating systems are running.
Your contractor may provide instructions about:
Maintaining a consistent indoor temperature
Ventilation
Limiting foot traffic
Keeping pets away
When furniture can return
When rugs can be placed
When the finish reaches its full cure
A floor can feel dry before it has fully cured. Returning furniture and rugs too soon can leave marks or interfere with the finish.
Following the product-specific instructions helps protect the work you just invested in.
Preparation Also Includes the Homeowner
There are things homeowners can do to help the project begin smoothly.
Before the scheduled start date:
Remove furniture, rugs, curtains that touch the floor, and small belongings from the work area.
Ask whether appliances or heavy furniture need professional help to move.
Confirm which closets, hallways, or adjoining rooms are included.
Make arrangements for pets and children during active work and curing.
Discuss access to the home, parking, and electrical needs.
Ask when you will be able to walk through each area again.
Choose stain and finish options before they are needed.
Share any known history of the floor, including old repairs, pet damage, leaks, or previous refinishing.
You do not need to prepare the wood yourself. In fact, applying cleaners, waxes, oils, or do-it-yourself products immediately before the project can create additional complications.
When in doubt, ask the flooring contractor what should and should not be done before arrival.
What Should You Ask When Comparing Estimates?
Not every estimate includes the same work.
A lower number may reflect a smaller scope rather than a better price for the same process. Homeowners should understand what is included before comparing totals.
Helpful questions include:
Are repairs included or priced separately?
How will edges, corners, closets, and doorways be handled?
Will vents and transitions be included?
What sanding progression will be used?
Is stain included in the estimate?
What finish system is being proposed?
How many coats are included?
How will dust be managed?
How long should the floor dry and cure?
Who moves appliances or heavy furniture?
Are stairs priced separately?
What imperfections may remain after refinishing?
A professional should be able to explain the scope without making you feel as though you should already know the terminology.
The conversation surrounding the estimate can tell you almost as much as the price.
Why Rushing the Process Can Cost More Later
Hardwood flooring has a limited amount of material available for sanding.
A poorly prepared floor may need to be corrected by sanding it again, which removes additional wood and reduces the number of times the floor can potentially be refinished in the future.
Problems beneath the finish can also become expensive to correct after furniture has returned and the household is using the space again.
Taking the time to address repairs, complete the sanding progression, blend the edges, and allow proper curing protects both the appearance of the floor and the material itself.
The cheapest project is not necessarily the one with the lowest initial estimate. It is the one that provides an appropriate solution without creating unnecessary work later.
Good Preparation Should Disappear Into the Finished Floor
Much of the work behind a beautiful hardwood floor should not call attention to itself.
A clean transition simply looks like it belongs. A blended edge does not announce which machine was used. A thoughtful repair becomes part of the room rather than the first thing you notice.
That is what preparation is supposed to do.
It creates the foundation for the color, grain, finish, and craftsmanship to come together as one finished floor.
If you have worn, scratched, stained, or previously covered hardwood, do not assume replacement is your only option. A professional evaluation can help determine whether the floor needs full refinishing, localized repairs, a maintenance coat, or another solution.
Swartwout Solutions provides professional hardwood floor refinishing, sanding, restoration, repairs, installation, and stair refinishing throughout Beaver Dam, Watertown, Columbus, Sun Prairie, and surrounding Southern Wisconsin communities.
Call or text Swartwout Solutions at (920) 306-1237 to schedule a free flooring evaluation.